After the fan panel is securely in place, Part 2 of Retrotec’s Hard Panel Assembly series guides you through adding the Large‑X and XY panels—essential for sealing your doorway and achieving a professional finish.
Step-By-Step Panel Integration
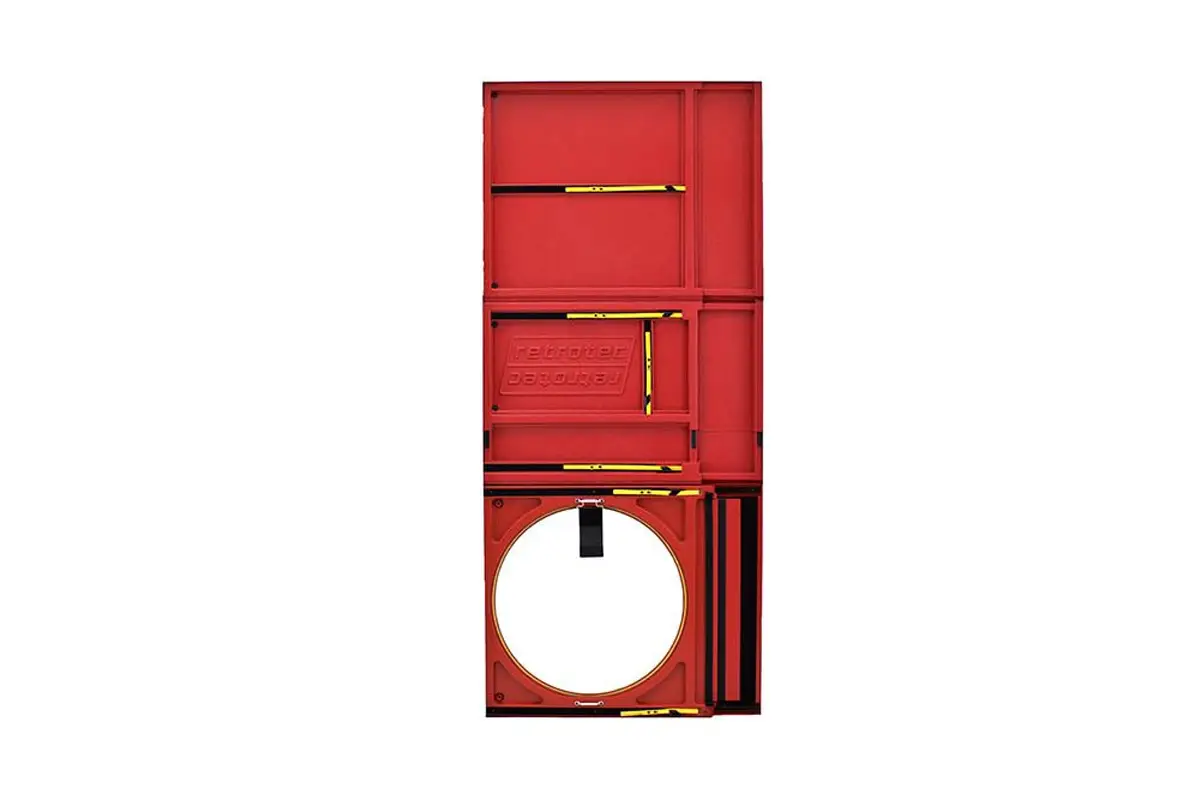
Position the Large‑X Panel
With the fan panel set, lift the Large‑X panel into the upper portion of the door frame.
Spread it evenly so its tension straps reach the frame edges.
Secure the straps until the panel sits flat and taut against the door opening.
Install the XY Panel
Next, open the collapsible XY panel and place it above the Large‑X panel to cover any remaining gaps near the top.
Extend its straps to the frame and lock them in, ensuring a tight fit with no light passing through.
Ensure Complete Coverage
Inspect the perimeter for any tiny slits or light bleed.
Fill gaps with provided filler strips or grill masks, pressing them firmly into uncovered sections for a sealed, cohesive assembly.
Check the Seal
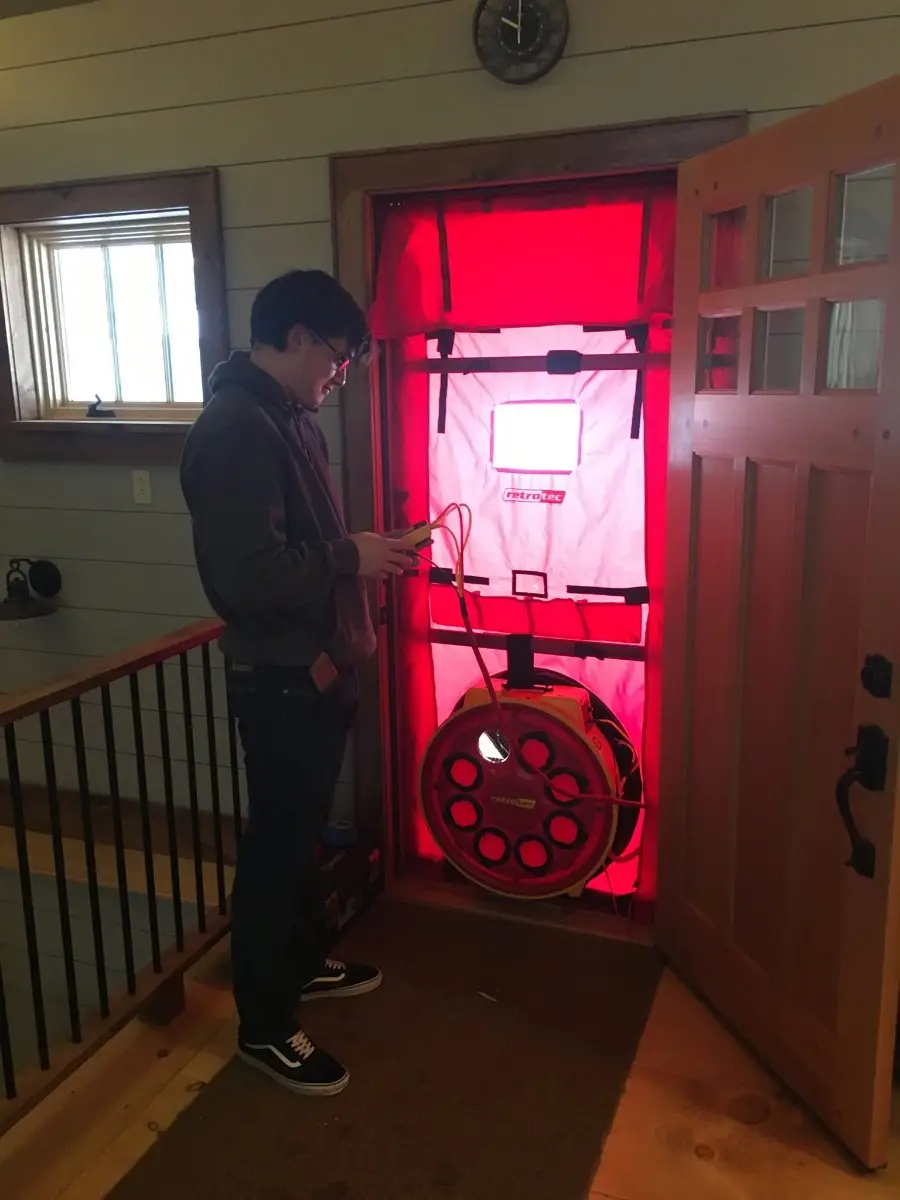
Once all panels are installed, step back and visually confirm no daylight is visible.
The door should appear uniformly solid—ready to house the blower door fan.
Why this Matters
Structural solidity: Large‑X and XY panels form a rigid, flat surface to enhance the seal around the fan panel.
Professional look: Assemble creates a sleek, all-panel front—ideal for client-facing tests and inspections.
Functional flexibility: Modular design adapts to various door sizes, making it ideal for different testing scenarios.