


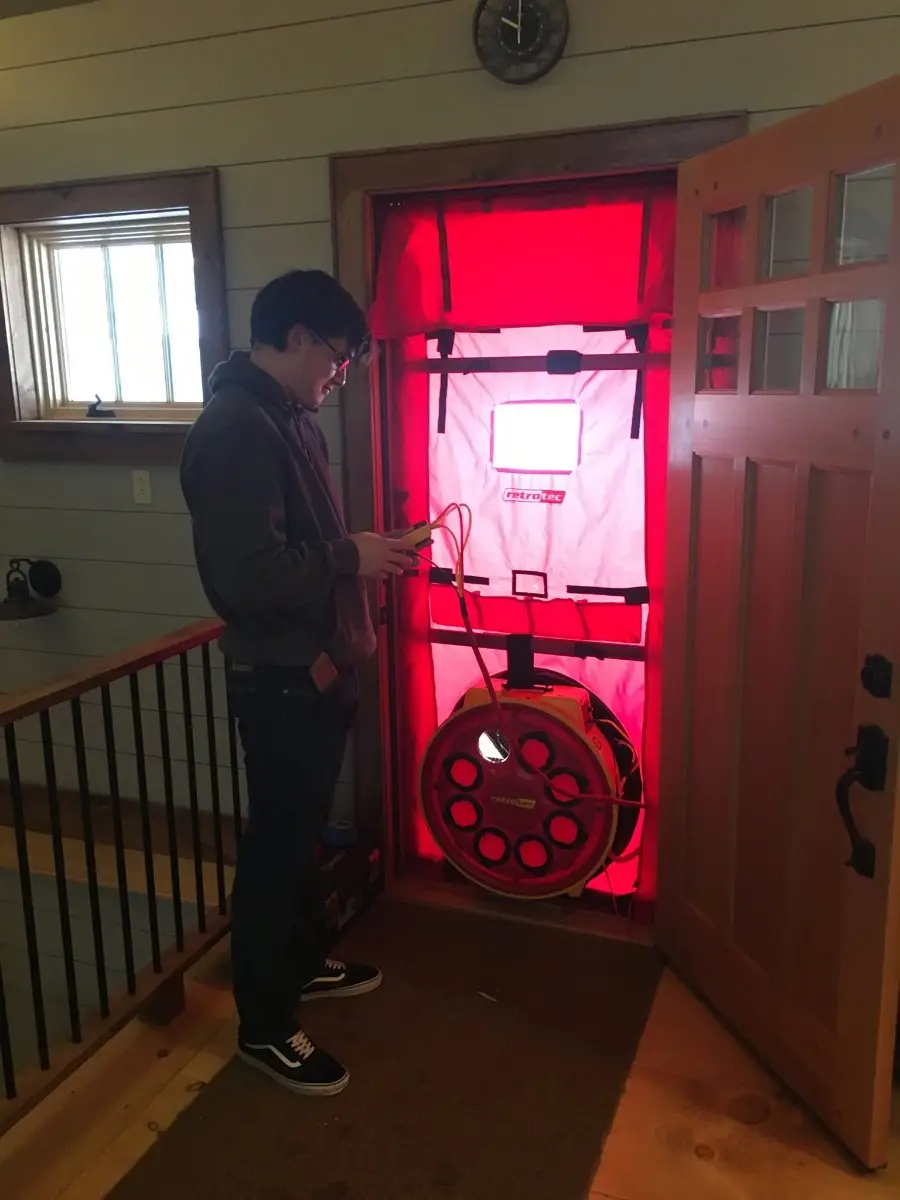
Install a blower door in an exterior entrance and pull the house down to –25 Pa relative to outside.
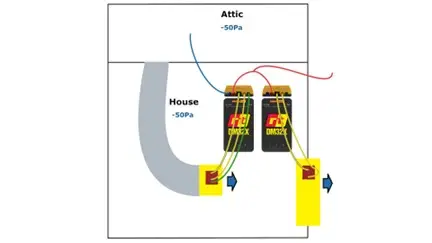
Attach the duct blower to a return duct via a sealed flange and flex duct. Seal all other supply and return registers to isolate the duct system.
With the house at –25 Pa, activate the DucTester to draw the ducts down to 0 Pa relative to the house interior. This means the ducts are also at –25 Pa relative to outdoor pressure.
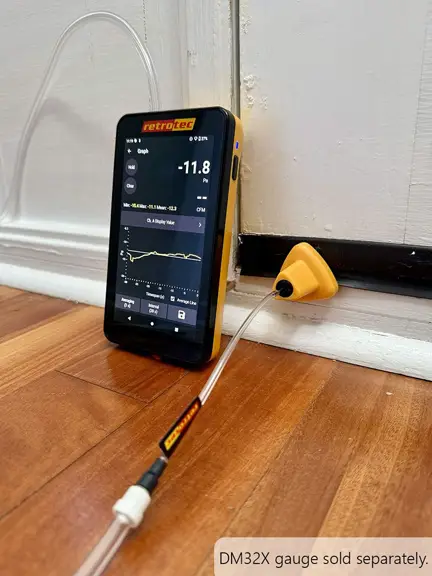
The DucTester gauge displays the airflow (in CFM25) required to maintain duct pressure at zero relative to the house—this value represents duct leakage to the outdoors.
Practical: No need for two gauges—pressure is calculated against a stable house depressurization baseline.
Reliable: By holding building pressure steady, the test accurately isolates only outdoors-facing leaks.
Compliant: Meets common thresholds (e.g., ≤ 4 CFM25 per 100 sq ft or ≤ 40 CFM25) required by energy codes.
Consistent Pressure Control: Adjust blower door fan as needed while DucTester runs to keep house at –25 Pa.
Seal Everything Carefully: Leaks at vents or panel edges can skew results.
Stabilize Before Reading: Wait about 30–60 seconds after pressures settle for accurate flow measurement.
Multiple Checks: Consider repeating on both supply and return sides, averaging the two readings for a more complete picture.