Part 8 of our FanTestic series covers the first half of an auto-test. Watch it, and then part 2 to see how the test can make life easier for air-tightness professionals.
Pre-Test Setup Checklist
Before launching the auto-test, the video emphasizes these key steps:
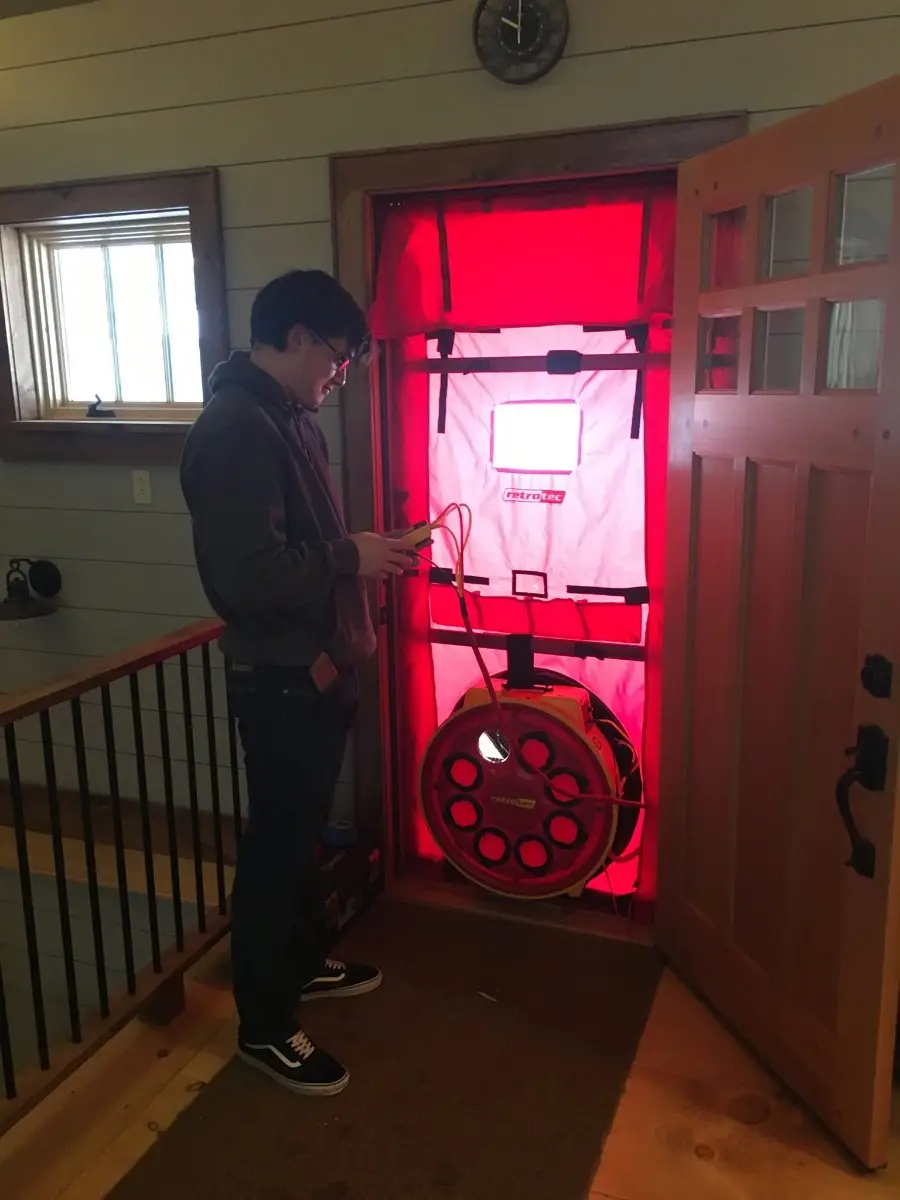
System Calibration: Make sure the fan, gauge, and tubing are properly configured.
Baseline Pressure Measurement: FanTestic records a baseline indoor-outdoor pressure reading with the fan off to account for environmental conditions.
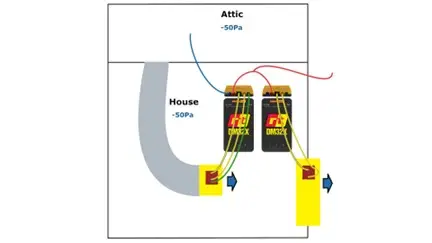
Target Standards Selection: Choose the testing standard (e.g., ASTM, ISO, ATTMA) and confirm all test inputs such as building volume, surface area, and leakage type.
Starting the Auto Test
Activate Auto-Test Mode
Click “Auto-Test” in the toolbar to launch the automated procedure. The software begins stepping through a predefined series of pressure levels, typically starting from high to low.Live Data Capture
FanTestic automatically adjusts the fan speed to maintain target pressures and begins recording flow and pressure data for each step.Visual Feedback
As the test runs, live graphs and readings are displayed, allowing the user to monitor performance in real time. Stabilization at each point is critical for test validity.Pause & Resume Options
Users can pause the test if adjustments are needed, then resume without restarting from scratch.
Why Auto Tests Matter
Consistency: The software manages pressure changes with precision, reducing human error.
Efficiency: Once configured, Auto-Test runs seamlessly—ideal for large-scale projects or repeat testing.
Data Integrity: Automatic logging and graphing make reporting more reliable and easier to interpret.