


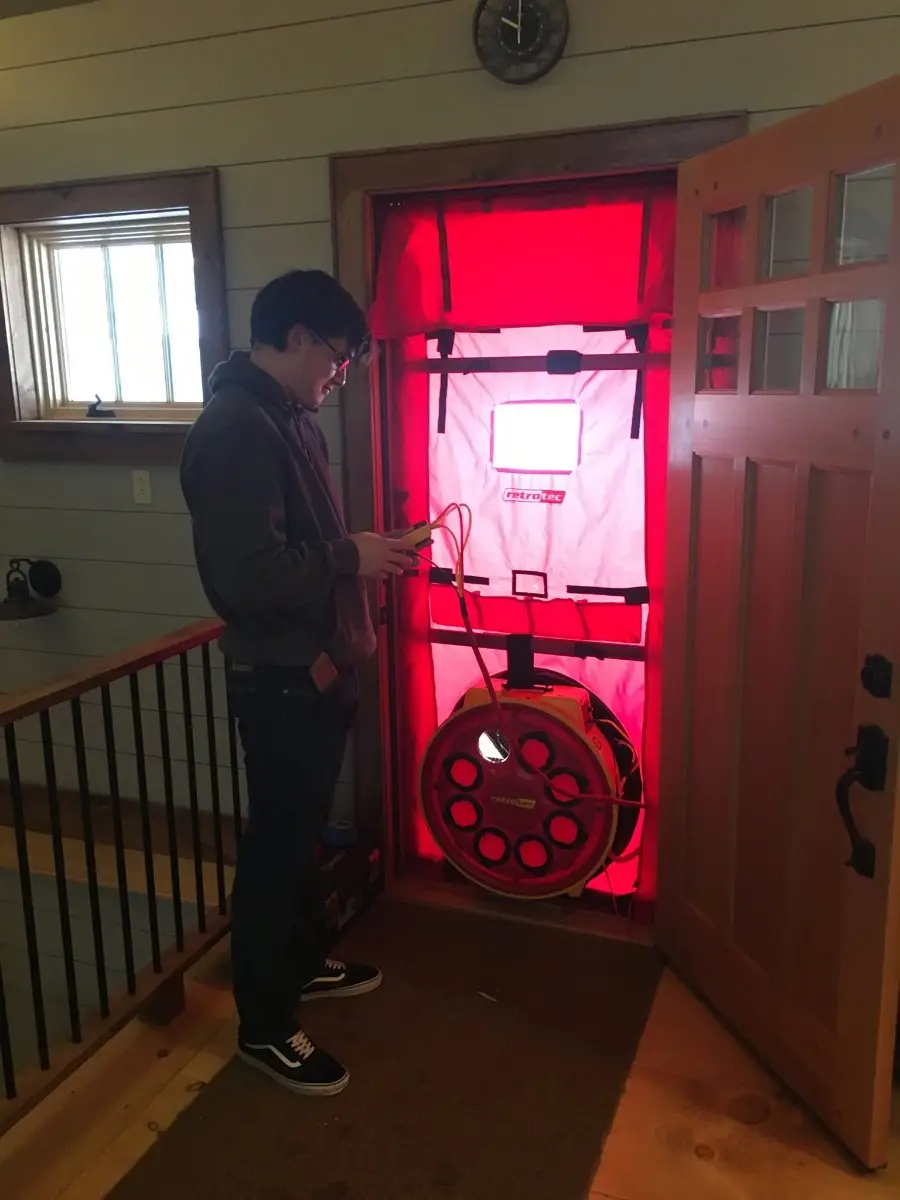
Achieving a sleek, professional blower‑door setup has never been easier thanks to Retrotec’s hard‑panel system. Designed for the Q56 series, this modular kit snaps into most standard door frames in minutes, delivering both functionality and clean aesthetics.
Start by laying out the kit components:
Fan panel (pre‑cut for mounting the blower fan)
Large‑X panel
XY panel
A set of fill-in sheets to seal any gaps
Each piece is designed to interlock and expand, providing precise coverage tailored to your doorway.
Place this base panel in the doorway with its bottom edge on the floor. Pull tension straps outward (away from hinges) until the panel fits snugly, and secure with cleats. Then, attach the blower fan into the pre-cut hole and fasten it with the included strap.
Any exposed sections after tensioning the fan panel are easily sealed using the large or small fill sheets.
Position the Large‑X panel above the fan panel and tension it to fit. Next, expand and secure the XY panel to complete the seal and ensure no light passes through.
Use grill masks or short filler strips to cover any minor gaps around panel edges, ensuring an airtight fit.
Insert the fan into the fan panel’s opening, align as indicated, and lock it in place. Connect pressure tubing per the blower-door gauge instructions, plug in, and you’re ready for testing!