What Is Auto Zero?
Auto Zero is a calibration function that balances the internal sensors of the pressure gauge to atmospheric pressure before taking readings
It ensures no existing pressure differences affect your measurement baseline
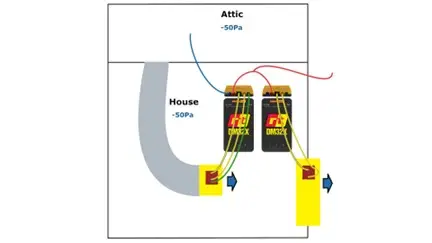
Must be done with tubing disconnected or open to the same space, to avoid false readings
Skipping this step can lead to inaccurate data and flawed test results.
Step-by-Step: Starting with Auto Zero
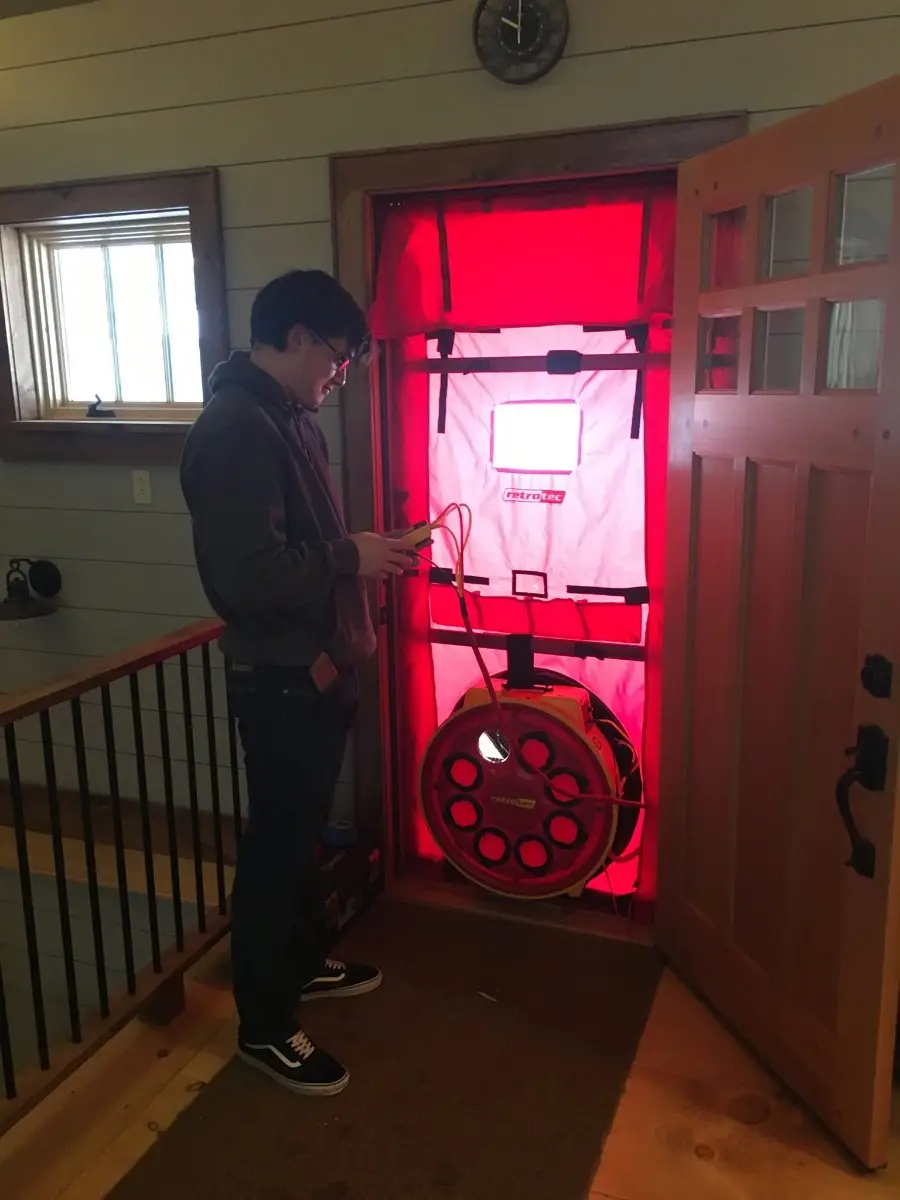
Power on the gauge and let it warm up if recently moved from a different temperature environment
Ensure no pressure is applied to the gauge—disconnect tubing or make sure both ports are vented to the same space
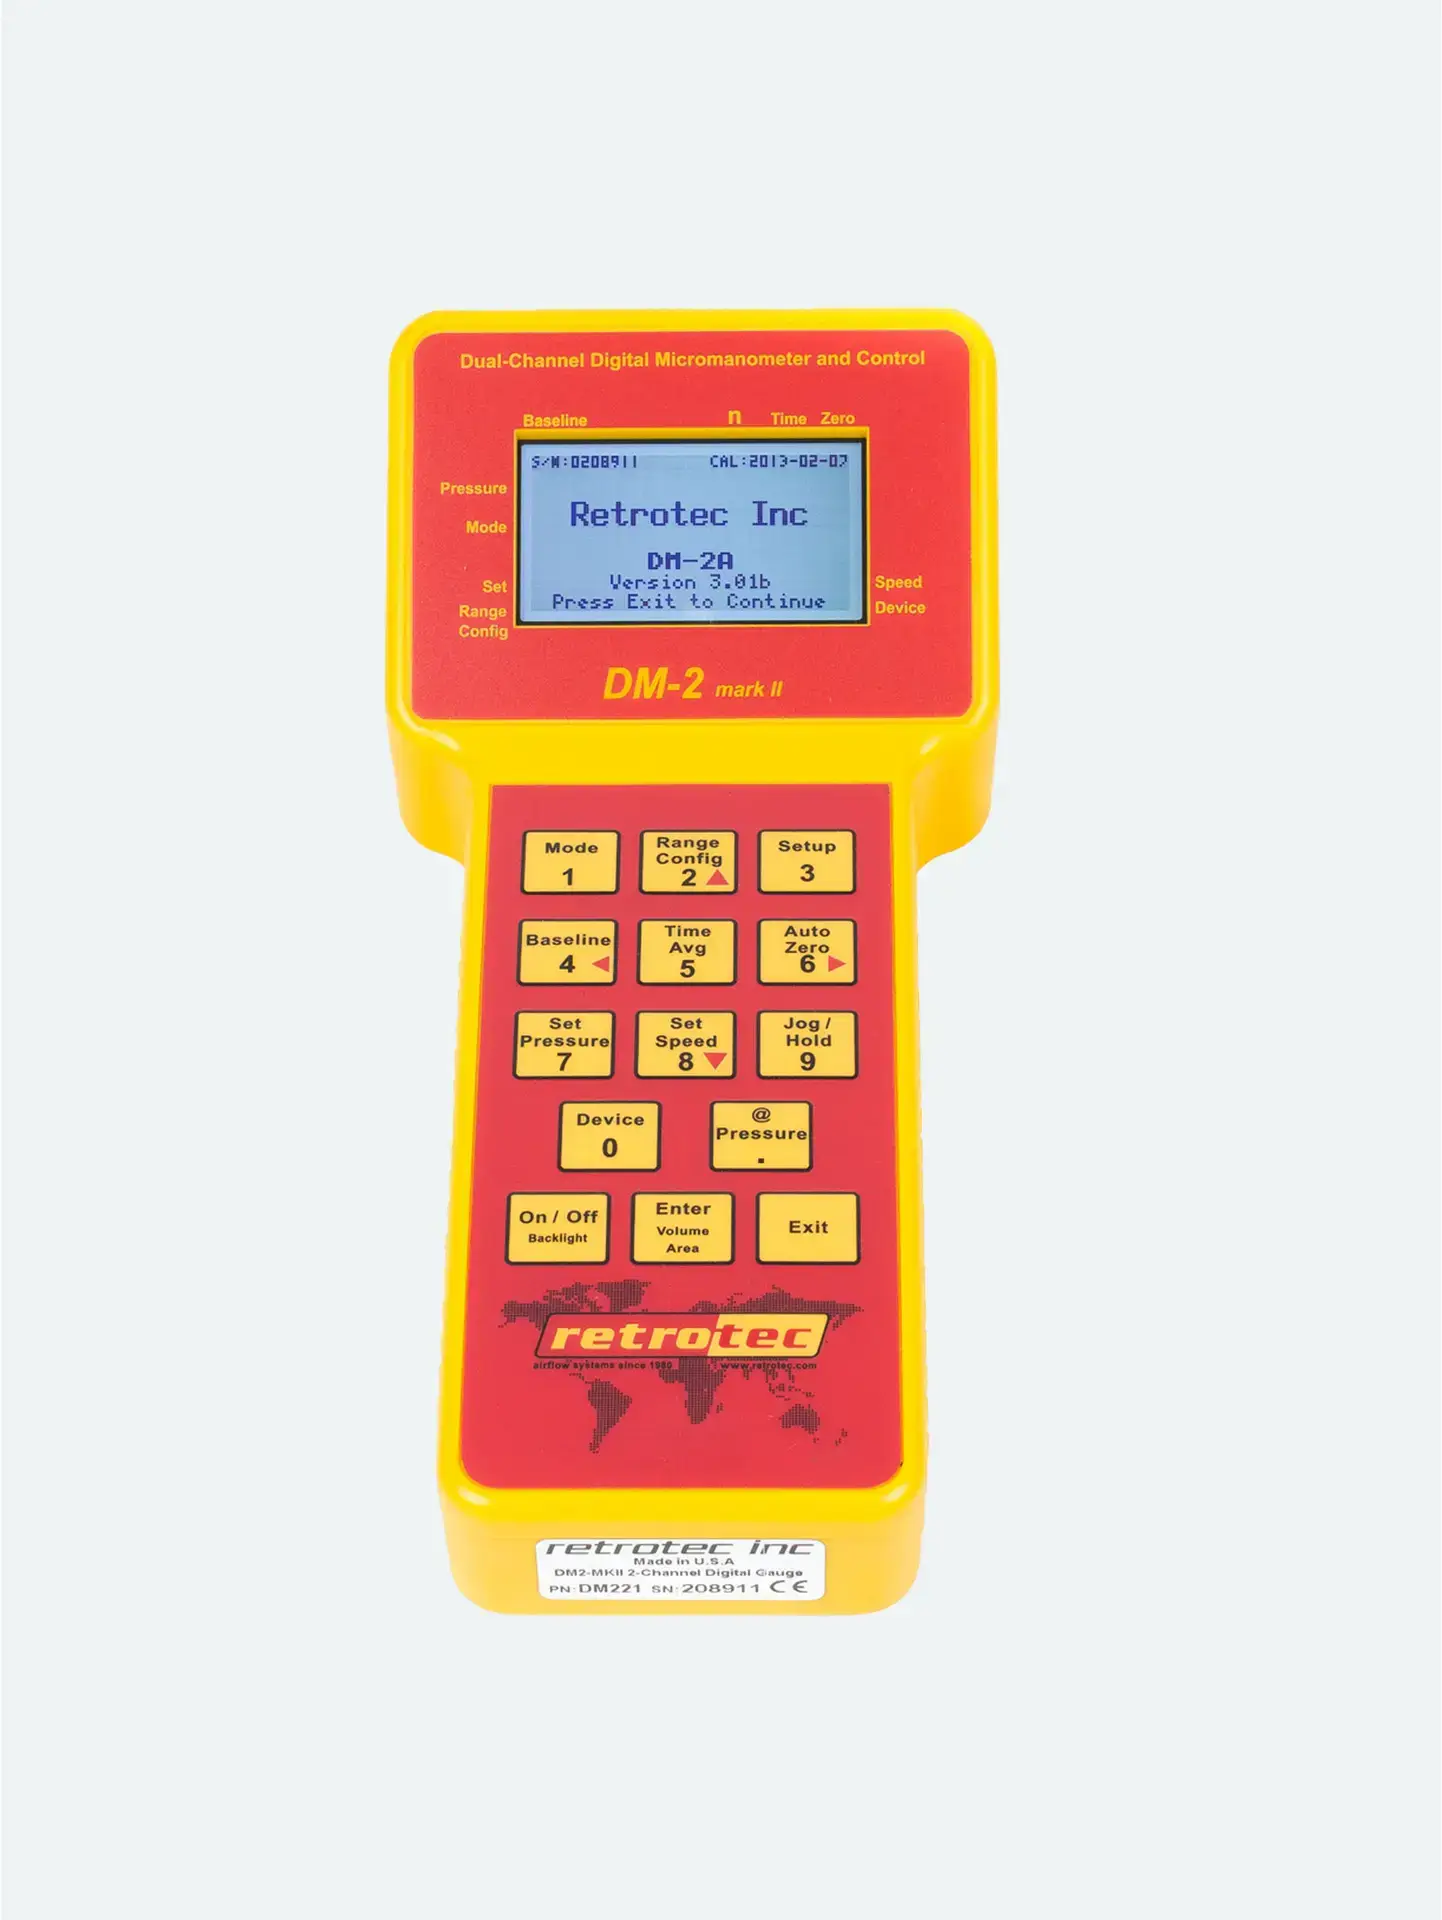
Tap the Auto Zero button on the screen
Wait for the gauge to stabilize and confirm the process is complete before connecting test tubing
This only takes seconds but makes a significant difference in data integrity.
When to Auto Zero
Before each test session
After moving equipment between test sites
If readings appear erratic or unstable
After significant temperature or altitude changes
Regular Auto Zeroing is part of professional best practices.
Why It Matters
Provides a reliable baseline for pressure differentials
Ensures that fan speed, flow, and leakage calculations are accurate
Helps prevent troubleshooting issues that stem from avoidable setup errors
In short: Auto Zero = Accuracy.